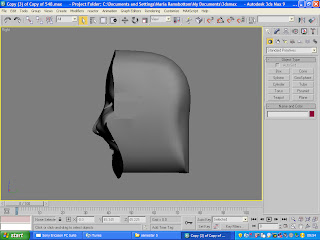
1. a sphere shape was created to roughly the correct size.
2. the scaling tool was selected, and the sides of the sphere were scaled to the shape of the head (bear in mind that the pictures of the head on the planes were visible)
3. the sphere was then rotated (in the left view port) so the circles that make up the sphere are clearly visible.
4. on the modifier panel, the edit poly modifier was then put on.
5. the next step was then to get rid of some of the sphere that is not needed. this is done by selecting the pain selection region tool and selecting all the polygons that are not needed. (the transparent tool may need to be switched on, so that it is possible to see the picture of the head). it was important to select the polygons that are below the tops of the ears, the middle circles and up to the top of the head.
6. the next step step was to drag out the polys to attach to the front of the head, and downwards.
7. once this is done, the weld tool was used to make sure all the vertex were together, and could easily be manipulated.
8. finally the using the attach tool it was important to make sure the back of the head was attached to the front.

As you can see from the above picture, one of the things that went wrong with the head was the fact that a proper next was not created, so it looks a little strange. this was mostly because when i tried to do it, the shape didn't seem to go very well, and time was not on my side. so rather then waste a lot of time on that i decided to move on to the next thing, then it was difficult to go back and correct it.
No comments:
Post a Comment