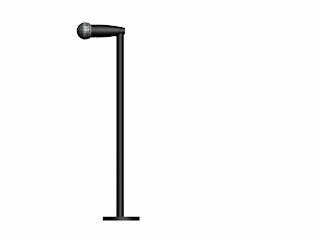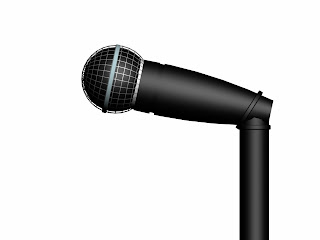

the microphone was made in the following way;
1. a cylinder was made, and adjusted to the appropriate size
2. a taper modifier was applied to the cylinder
3.a sphere was created and adjusted to the correct size based on the sized on the cylinder.
4. a tube was created around the middle of the sphere, the parameters were adjusted according to the size of the sphere. i was important to make sure the tube fitted neatly around the middle.
5. the tube was then copied 2 more times. one tube had to be placed around the point where the sphere and cylinder met, and the other quite close to the top of the cylinder. with both tubes, they had to be adjusted, for the second tube however, this had to be booleaned into the cylinder.
6. the next thing to do was to create small raiser circles, i used the chamfer circle tool for this. this then had to be copied 2 more times, and then booleaned in.
7. the sphere was then selected, and the material editor was also selected and the wire setting was turned on. the sphere was then selected once more, and copied. but this time it was made smaller, and the wire turned off, with a black material added.
8. all the other parts had material added, which was plain colours.
9. finally, a stand was added to the microphone. this was done by using the chamfer circle tool, and adjusted to the appropriate height. the tubes were then copied again, and added to the stand and microphone to have something to hold the microphone.
i later found that the height of the microphone was too short, so this had to be adjusted. overall the microphone was successful.
No comments:
Post a Comment